
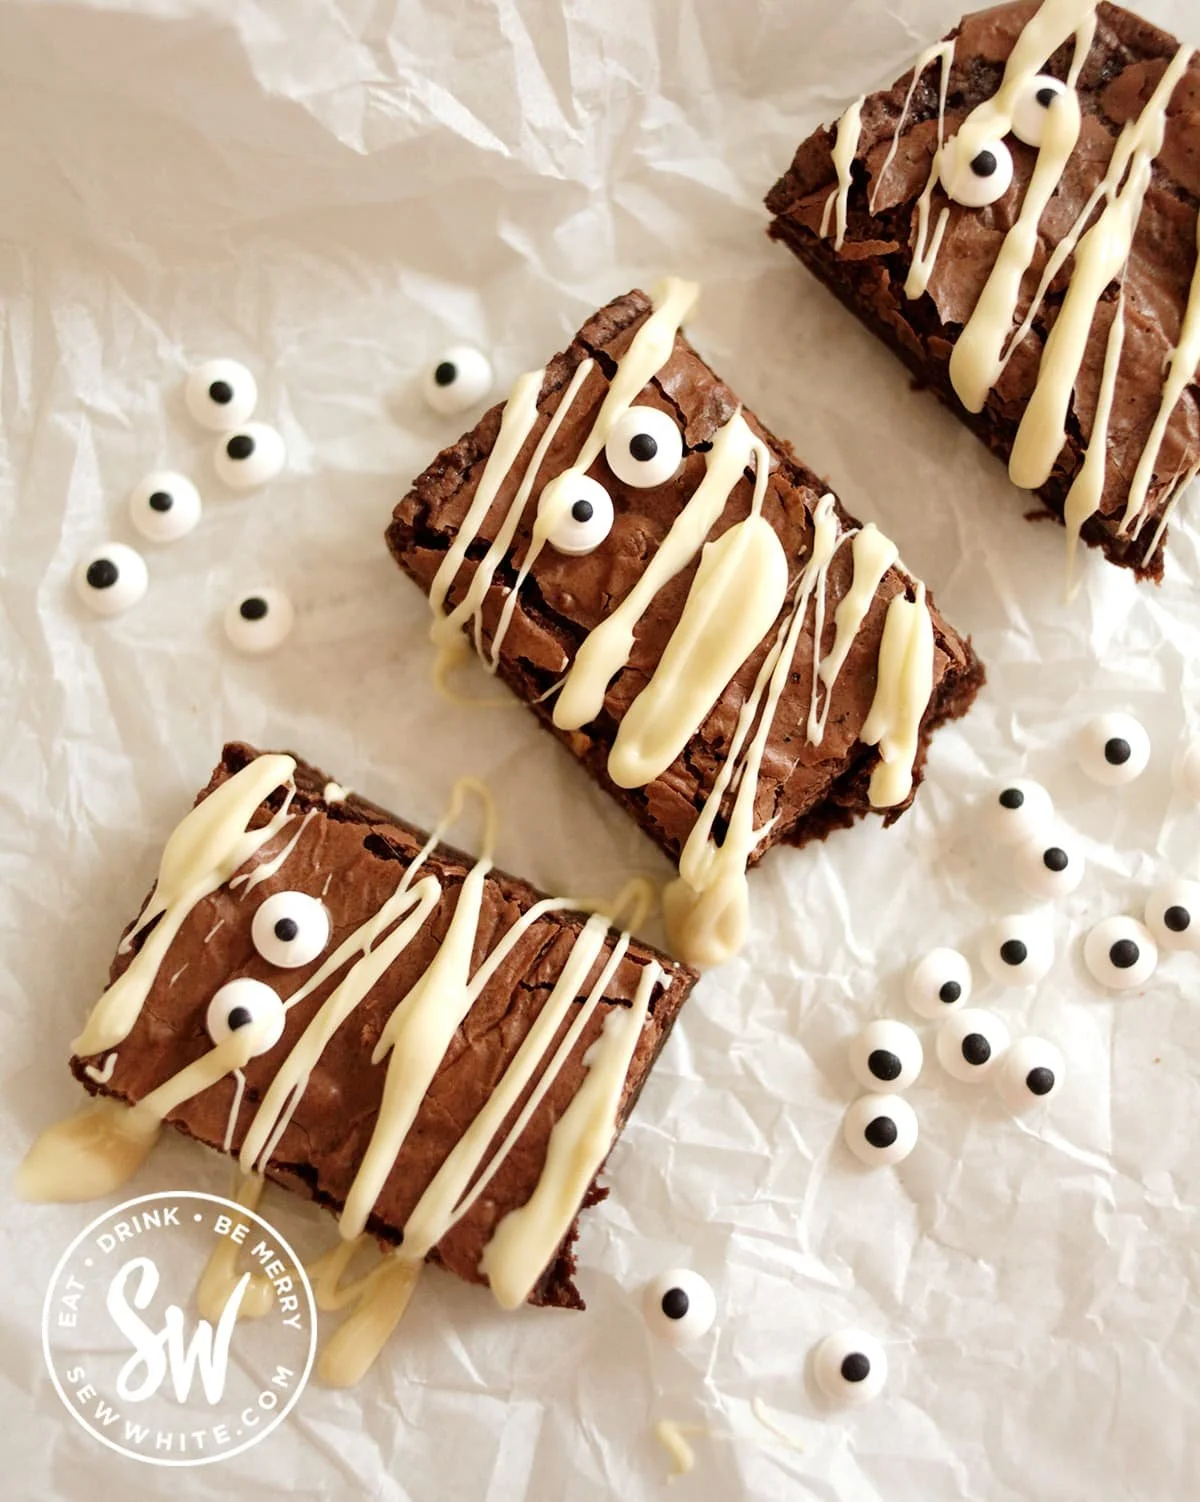
Easy Halloween Brownies are the ultimate treat for your Halloween festivities! Rich, fudgy, and adorned with fun decorations, these brownies encapsulate the perfect blend of comfort and nostalgia. Their deep chocolate flavor, combined with a whimsical twist, makes them a delightful choice for family gatherings or spooky parties. With this step-by-step recipe, you’ll find it simple to whip up a batch that everyone will love, making your Halloween celebrations even more memorable. Let’s dive into the ingredients and the irresistible directions to create these festive brownies.
Ingredients
Let’s gather our ingredients for these Easy Halloween Brownies! You’ll need:
- 350 g Milk chocolate: This luscious chocolate will provide a creamy and decadent base for your brownies, melting beautifully into the batter.
- 250 g Unsalted butter: Add richness and a velvety texture with the buttery goodness, enhancing the overall flavor of your treat.
- 250 g Light brown sugar: This offers a lovely caramel-like sweetness and ensures a moist brownie with a hint of chewiness.
- 3 large Eggs: Essential for binding the ingredients and adding a rich, custardy texture that elevates your treats.
- 1 tsp Vanilla extract: The aromatic notes of vanilla will elevate your brownies with a comforting warmth.
- 120 g Plain flour / All-purpose flour: This provides structure to the brownies while keeping them soft and fudgy.
- 150 g Nuts, dried fruit, or chocolate chips: Optional, but they add delightful texture and flavor bursts in every bite.
- 200 g White chocolate: This will be melted and used for decoration, adding a sweet contrast to the dark brownies.
- Edible eyes: These quirky decorations will transform your brownies into a festive and fun treat, perfect for Halloween.
Step-by-Step Directions
Let’s get started on making these delightful brownies! Begin by preheating your oven to 160ºC Fan / 180ºC / 350F / Gas Mark 4. Then, grease and line a 9 inch by 12 inch tin with baking parchment or greaseproof paper.
-
In a pan over low heat, melt the milk chocolate and butter together, stirring continuously to prevent burning. Once melted, remove from heat to cool slightly.
-
In a separate bowl, combine the eggs, light brown sugar, and vanilla extract. Use a hand mixer to whisk for about 5 minutes until the mixture is thicker and paler in color. This step enhances the brownie’s texture and gives it a delightful rise.
-
Incorporate the melted chocolate and butter mixture into the egg mixture, whisking as you go to ensure a smooth batter.
-
Sift in the plain flour, then use a hand whisk to combine until just integrated. Be careful not to over-mix, as this can lead to denser brownies.
-
If you’re adding nuts, dried fruit, or chocolate chips, gently fold them in now for a fun texture.
-
Pour the batter into your prepared tin, spreading it out evenly, and bake in the oven for 15-20 minutes. Keep an eye on them; you want them set but still a bit gooey in the center!
-
Once baked, allow the brownies to cool in the tin before removing them to slice into rectangles.
-
To decorate, melt the white chocolate in short bursts in the microwave. Use it to attach the edible eyes to the brownies, making them look like spooky little ghouls!
-
You can also drizzle the remaining melted white chocolate over the top to mimic mummy bandages, adding to the Halloween theme.
-
Serve and enjoy these tasty treats!
Tips & Tricks
- Brownie Test: To tell if your brownies are done, insert a toothpick in the center; it should come out with a few moist crumbs but not wet batter.
- Cooling Time: Let the brownies cool before cutting; this helps maintain their fudgy texture.
- Chocolate Options: Experiment with different types of chocolate (dark, milk, or even flavored chocolate) to customize your brownies.
Serving Suggestions & Pairings
These Easy Halloween Brownies pair wonderfully with a scoop of vanilla ice cream or a dollop of whipped cream on top. Serve them at the center of your Halloween dessert table for an eye-catching display. They are great for parties, potlucks, or spooky movie nights, and can easily become a fun activity with kids when decorating.
Nutritional Information
Each brownie (assuming you cut them into 12 pieces) contains approximately 250 calories, with a balance of carbohydrates, fats, and protein. These brownies are indulgent, so enjoy them as part of a balanced diet.
Storing Tips & Variations
To store your brownies, place them in an airtight container at room temperature for up to 4-5 days. If you’re looking to extend their life, consider freezing the brownies for up to 3 months. Just make sure to wrap them well. For variations, try adding peppermint extract for a minty flavor or swap in different types of nuts or dried fruits to customize to your taste.
Conclusion
Now that you have the recipe for these Easy Halloween Brownies, it’s time to get baking! Encourage your friends and family to join in for a fun Halloween-themed activity. Once you’ve tried them, let us know how your decorations turned out and share your spooky brownie experience!
FAQs
-
Can I make these brownies gluten-free?
Yes! You can use a gluten-free flour blend in place of all-purpose flour. -
What can I substitute for eggs?
You can use flax eggs or applesauce as a substitute, but results may vary slightly. -
How can I make these brownies less sweet?
Consider using dark chocolate for a richer flavor profile or reduce the amount of sugar slightly. -
Can I use other decorations instead of edible eyes?
Absolutely! You can use sprinkles, frosting, or small candies to create your preferred look. -
How do I know when the brownies are done baking?
Insert a toothpick in the center; if it pulls out with a few moist crumbs, they’re ready to come out of the oven!
Now, gather your ingredients, channel your inner pastry chef, and create these delightful Easy Halloween Brownies. Happy baking!
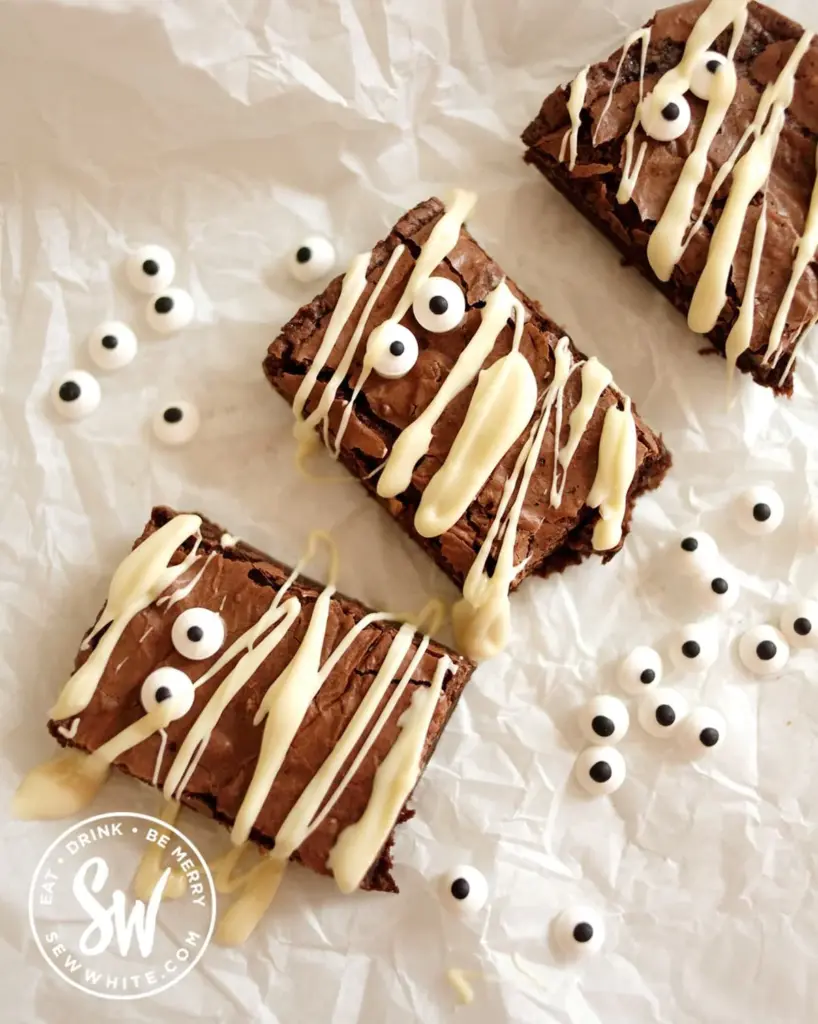
Easy Halloween Brownies
Ingredients
Method
- Preheat your oven to 160ºC Fan / 180ºC / 350F / Gas Mark 4. Grease and line a 9 inch by 12 inch tin with baking parchment.
- In a pan over low heat, melt the milk chocolate and butter together, stirring continuously to prevent burning. Once melted, remove from heat to cool slightly.
- In a separate bowl, combine the eggs, light brown sugar, and vanilla extract. Use a hand mixer to whisk for about 5 minutes until the mixture is thicker and paler in color.
- Incorporate the melted chocolate and butter mixture into the egg mixture, whisking as you go.
- Sift in the plain flour, then use a hand whisk to combine until just integrated.
- If adding nuts, dried fruit, or chocolate chips, gently fold them in now.
- Pour the batter into your prepared tin, spreading it out evenly.
- Bake in the oven for 15-20 minutes. They should be set but still gooey in the center!
- Once baked, allow the brownies to cool in the tin before removing and slicing into rectangles.
- Melt the white chocolate in short bursts in the microwave, using it to attach the edible eyes to the brownies.
- Drizzle remaining melted white chocolate over the top for added decoration.

Leave a Reply