
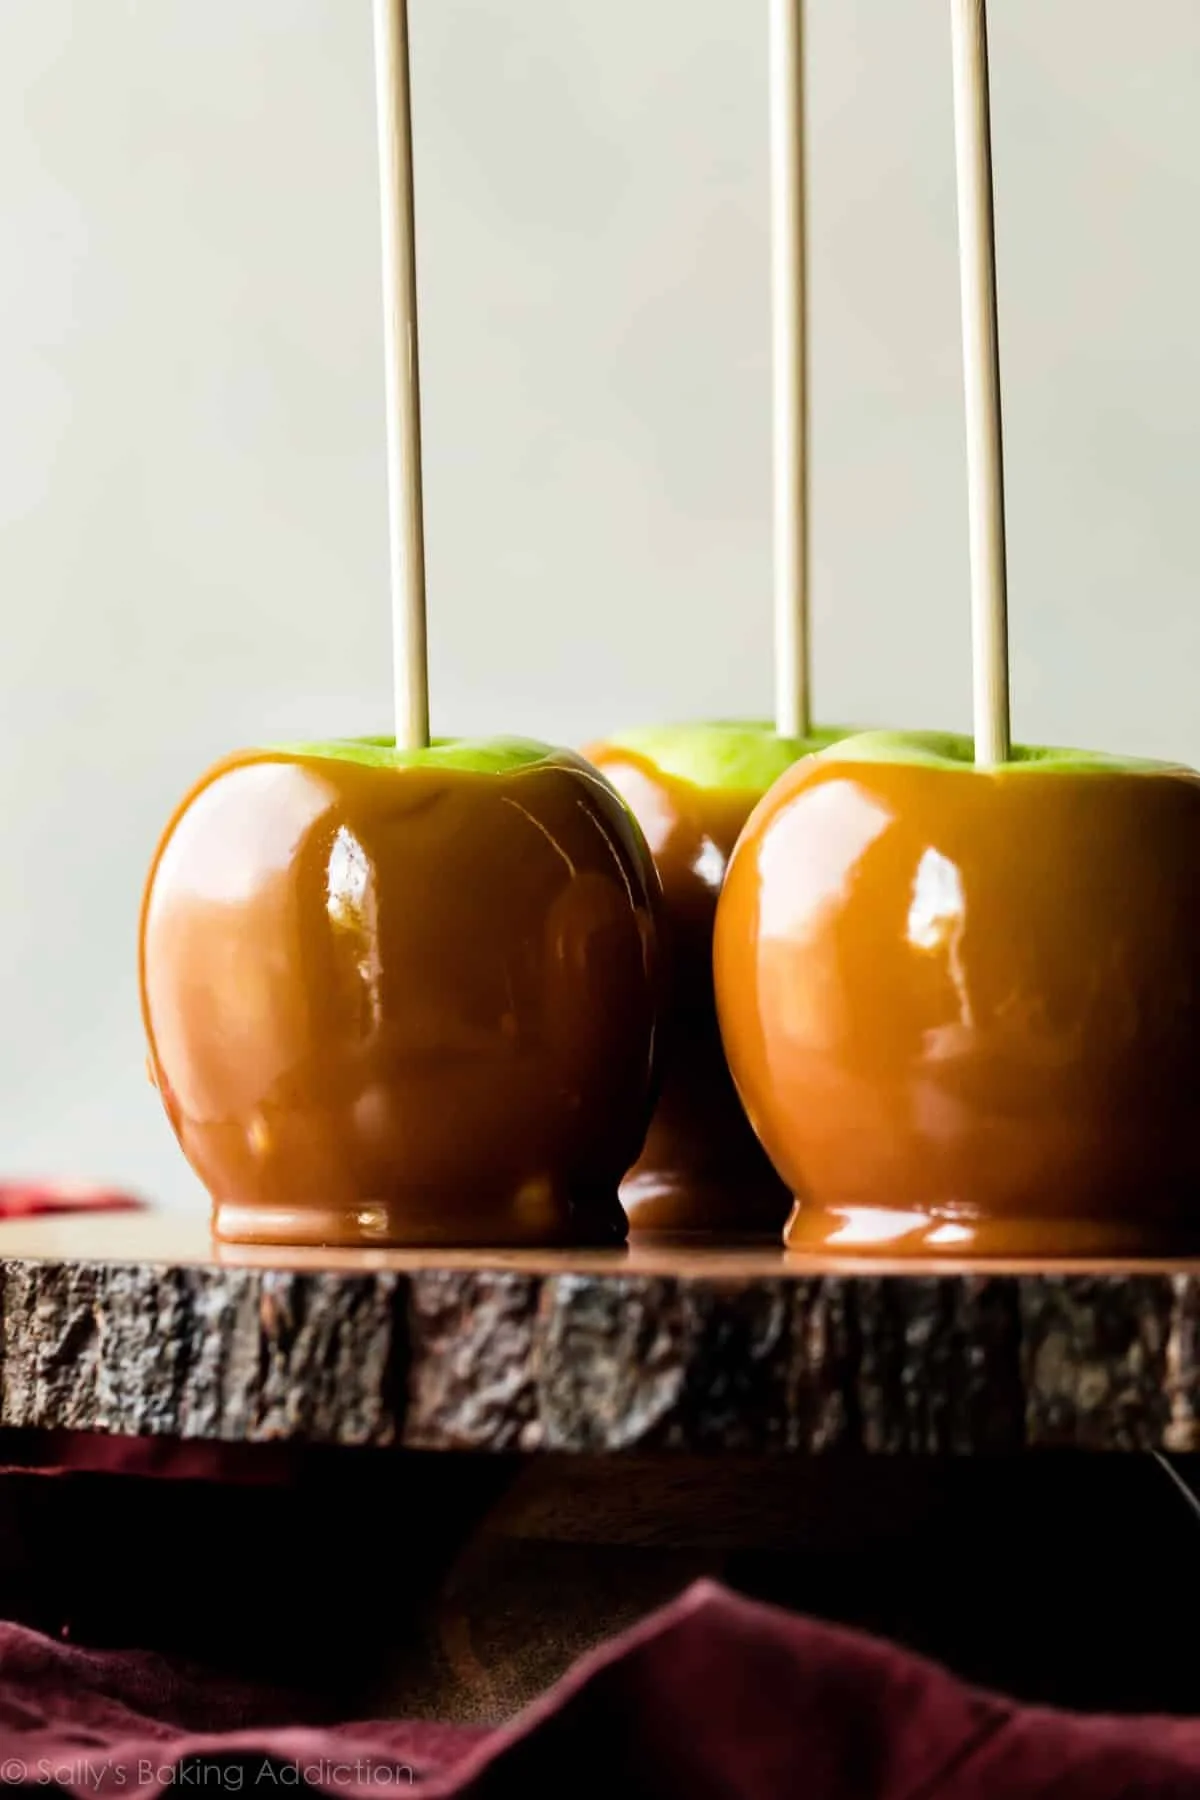
Homemade Caramel Apples
Homemade Caramel Apples are a delightful and nostalgic treat that evokes memories of autumn fairs and festive gatherings. The combination of crunchy, juicy apples coated in sweet, gooey caramel is simply irresistible. This recipe is perfect for families and gatherings, as it’s easy to make and allows for personalization with various toppings. Plus, making caramel apples at home gives you control over ingredients, ensuring a fresh and satisfying snack. In this step-by-step guide, we will walk you through the process of creating these delicious caramel-coated fruits, making it a fun and rewarding experience.
Ingredients
To craft your delectable homemade caramel apples, you’ll need the following ingredients:
- 8-9 cold apples: Crisp and juicy, these apples serve as the perfect base for your sweet treat. Choose your favorite varieties, such as Granny Smith for a tart contrast or Fuji for sweetness.
- 1 and 3/4 cups (420ml) heavy cream: This rich, creamy element adds depth and a smooth texture to your caramel. It pairs beautifully with the crispness of the apples.
- 1 cup (240ml) light corn syrup: This golden syrup gives the caramel a glossy shine while preventing crystallization, ensuring a smooth coating.
- 2 cups (400g) packed light or dark brown sugar: The deep, caramelized flavor from brown sugar enhances the sweetness and richness, creating that iconic caramel flavor.
- 1/4 cup (4 Tbsp; 56g) unsalted butter, at room temperature: Butter adds a rich, creamy mouthfeel while helping to bring the mixture together.
- 1/2 teaspoon salt: A touch of salt balances the sweetness and enhances the overall flavor profile.
- 1/2 teaspoon pure vanilla extract: This aromatic extract introduces a warm, inviting flavor that elevates the caramel to a new level.
Step-by-Step Directions
-
Prep the Apples: Start by rinsing the apples under cool water, then drying them thoroughly. Removing any slippery waxy coating is crucial for better caramel adherence. Once dried, remove the apple stems and insert caramel apple sticks about three-quarters down into each apple, ensuring they are secure.
-
Prepare the Baking Sheet: Line a large baking sheet with a silicone baking mat, which is preferred for easy caramel release. If you don’t have a mat, grease the pan with butter to avoid sticking.
-
Cook the Caramel: Combine the heavy cream, corn syrup, brown sugar, butter, and salt in a 3-quart heavy-duty saucepan. Set the heat to medium, stirring constantly until the butter melts. Once melted, brush down the sides of the pan with a water-moistened pastry brush to help prevent sugar crystals from forming.
-
Monitor the Temperature: Attach a candy thermometer to the pot, ensuring the bulb isn’t touching the bottom. Allow the mixture to bubble without stirring until it reaches a temperature between 235°F (113°C) and 240°F (116°C). This process will take about 15-20 minutes, so use the thermometer as your guide.
-
Finish the Caramel: When the desired temperature is achieved, promptly remove the pot from heat. Stir in the vanilla extract carefully to avoid incorporating air bubbles. Let the caramel cool for 10-15 minutes until it thickens slightly. If it’s too runny, let it rest for a few more minutes.
-
Dip the Apples: Holding the stick, dip each apple into the warm caramel, making sure to coat all sides. You can tilt the pot to help achieve full coverage. Lift the apple and gently tap it against the side of the pot to let excess caramel drip off before placing it on the prepared pan. Repeat this process for all apples.
-
Set the Caramel: Allow the coated caramel apples to set for about 45-60 minutes. If gifting or traveling with them, wait until the caramel has completely set before wrapping them in cellophane treat bags.
-
Add Toppings (Optional): Before the caramel hardens, roll the caramel-dipped apples in your choice of toppings such as chopped nuts, toffee pieces, mini M&Ms, sprinkles, or coconut. You can also drizzle them with melted chocolate for an extra indulgent touch.
-
Serve & Enjoy: Display your beautiful caramel apples on wax paper or any non-stick surface. To eat, you can either bite directly into the apple or slice it on a cutting board, pulling out the stick for easier sharing. These treats are fantastic for sharing with friends and family or at gatherings!
Tips & Tricks
- Choose the Right Apples: Opt for firm apples that can hold their shape and provide a satisfying crunch when bitten into.
- Candy Thermometer: Ensure the candy thermometer is functioning correctly. An inaccurate reading can lead to soft or hard caramel.
- Avoid Over-Stirring: Once the caramel reaches temperature, care should be taken not to over-stir, which can introduce air bubbles and affect texture.
- Cooling Environment: If your kitchen is too warm, consider placing the caramel mixture in a cooler spot to help it thicken appropriately.
Serving Suggestions & Pairings
Homemade caramel apples make an excellent centerpiece for fall-themed parties, Halloween gatherings, or festive occasions. Pair them with warm cider or hot chocolate for a comforting treat. For a complete dessert table, serve them alongside muffins or pumpkin bread, accentuating the autumn flavors.
Nutritional Information
One homemade caramel apple typically contains approximately 250-300 calories, depending on the size of the apple and the amount of caramel used. The treat provides a good dose of carbohydrates from the sugar, with minimal protein and fat from the butter and cream. While they are a delicious indulgence, moderation is key, especially if you’re keeping an eye on sugar intake.
Storing Tips & Variations
To store leftover caramel apples, loosely cover them and place them in the refrigerator, where they will stay fresh for up to one week. It’s best to keep them on a non-stick surface to prevent sticking. If you’re looking for variations, try infusing the caramel with spices like cinnamon or nutmeg, or use chocolate-covered candies and various textures for fun toppings.
Conclusion
Homemade Caramel Apples are a delightful treat that everyone can enjoy. Not only do they yield a nostalgic flavor, but they also provide an opportunity to bring friends and family together in the kitchen. Whether you’re making them to celebrate a holiday or just to enjoy a sweet snack, this recipe is sure to impress. Give it a try, and don’t hesitate to share your experience with loved ones!
FAQs
-
What types of apples are best for caramel apples?
- Firm varieties such as Granny Smith, Fuji, or Honeycrisp are ideal due to their crunchiness and flavor balance.
-
Can I make the caramel ahead of time?
- It’s best to make the caramel fresh for optimal texture. However, if needed, you can keep it warm in a slow cooker.
-
How can I prevent the caramel from sticking to the serving dish?
- Use non-stick surfaces like wax paper or silicone mats for easy removal.
-
Can I use a microwave to make caramel?
- While possible, it’s recommended to use the stovetop method for better control and more consistent results.
-
What can I do if my caramel is too thick?
- If your caramel thickens too much, gently reheat it on low, adding a bit of cream to achieve the right consistency.
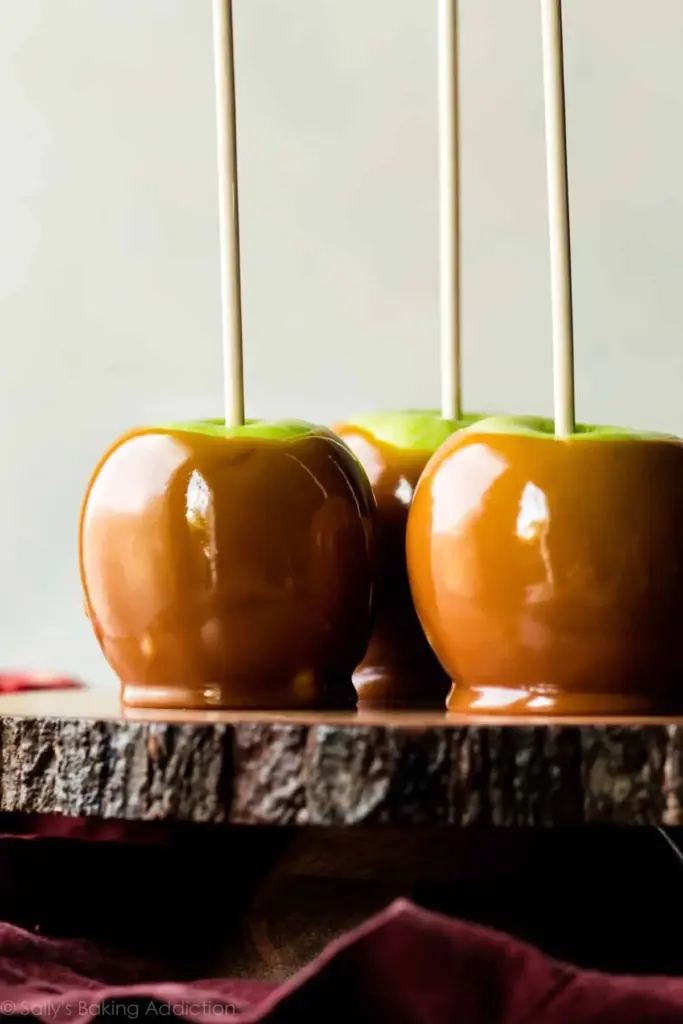
Homemade Caramel Apples
Ingredients
Method
- Rinse the apples under cool water and dry thoroughly to remove any waxy coating.
- Remove the stems and insert caramel apple sticks three-quarters down into each apple.
- Line a large baking sheet with a silicone baking mat or grease with butter.
- Combine heavy cream, corn syrup, brown sugar, butter, and salt in a saucepan over medium heat, stirring constantly until melted.
- Brush down the sides of the pot with a wet pastry brush to prevent sugar crystals.
- Attach a candy thermometer and allow the mixture to bubble without stirring until it reaches between 235°F and 240°F.
- Remove from heat and carefully stir in vanilla extract, then let the caramel cool for 10-15 minutes.
- Dip each apple into the warm caramel, coating all sides, and let excess drip off.
- Allow the caramel apples to set for 45-60 minutes.
- (Optional) Roll in toppings like nuts, toffee, mini M&Ms, or drizzle with melted chocolate before the caramel hardens.
- Display the caramel apples on wax paper and enjoy!

Leave a Reply