
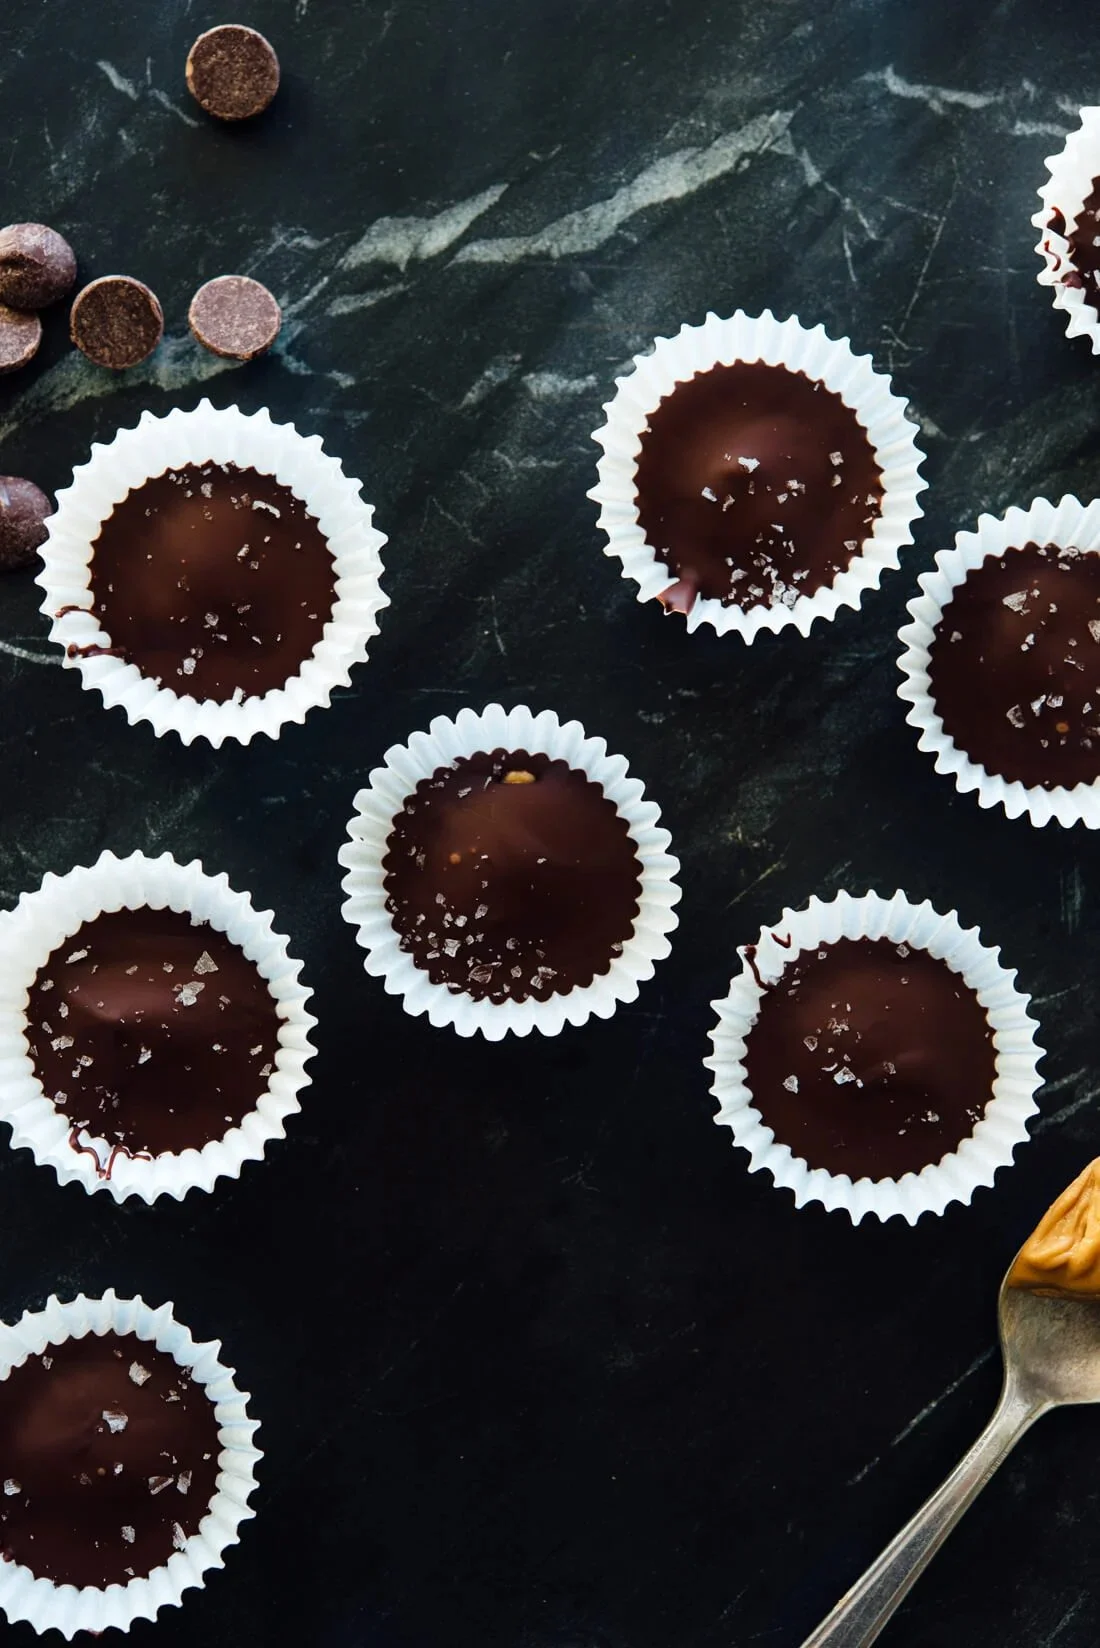
Mini Peanut Butter Cups are a delightful treat that combines the rich, creamy essence of peanut butter with the luscious goodness of chocolate. These bite-sized confections are not only easy to make but also deliver a satisfying balance of sweet and salty, making them a perfect indulgence for any time of the day. If you’re looking for a quick, comforting, and family-friendly recipe, Mini Peanut Butter Cups are sure to become a go-to favorite in your household. This step-by-step guide will walk you through making these delightful treats, so you can share the joy of this nostalgic classic with your loved ones.
Ingredients
- 2 tablespoons peanut butter: Creamy, smooth, and nutty, this peanut butter provides the perfect base for our sweet treat.
- 2 tablespoons maple syrup or honey: Whether you choose the warm, earthy notes of maple syrup or the floral sweetness of honey, both options will add a natural sweetness to the filling.
- 6 ounces chocolate (that’s 1 cup regular-sized chocolate chips): Rich, velvety chocolate creates the outer layer that complements the peanut butter filling wonderfully.
- Flaky sea salt, optional: A light sprinkle of this gourmet salt can elevate the flavor, adding a slight crunch and enhancing the sweetness.
Step-by-Step Directions
-
Combine Peanut Butter and Sweetener: In a small bowl, take the peanut butter and maple syrup (or honey) and stir them together until the mixture is well-blended. The resulting mix should be smooth, with a beautiful golden hue.
-
Prepare Your Cupcake Liners: Fill a mini cupcake pan with liners, or simply arrange mini cupcake liners on a plate. This preparation allows for easy serving and a neat presentation.
-
Melt the Chocolate: Use a microwave-safe bowl to melt the chocolate. Do this in 30-second intervals, stirring between each interval until the chocolate is completely melted. If you prefer, a double boiler method on the stovetop can also achieve perfectly melted chocolate.
-
Assemble the Cups: Start by drizzling about 1 teaspoon of the melted chocolate into the bottom of each cupcake liner. Using a small spoon, place about ½ teaspoon of the peanut butter mixture in the center of the chocolate. Top off with another teaspoon of melted chocolate to cover the peanut butter completely.
-
Freeze: Place the tray of mini peanut butter cups in the freezer for 5 minutes. After that, if you like, sprinkle a little flaky sea salt over the tops of each cup. Freeze them until firm, for about 25 additional minutes.
-
Store and Enjoy: Once firm, your Mini Peanut Butter Cups are ready to enjoy! If you’re not serving them immediately, store them in an airtight container at room temperature for up to a week or in the refrigerator for up to two months.
Tips & Tricks
- For a creamier peanut butter filling, consider using natural peanut butter that has been stirred to combine the oils for a smooth consistency.
- Try experimenting with different types of chocolate, such as dark, milk, or even white chocolate, to customize the flavor to your preference.
- Add a layer of crushed nuts or granola on top of the chocolate before freezing for an extra crunchy texture.
Serving Suggestions & Pairings
Mini Peanut Butter Cups are versatile and can be enjoyed in several ways. They make a wonderful addition to dessert platters during parties or holiday gatherings. Pair them with a glass of cold milk or a cup of coffee for a satisfying afternoon snack. They are also delightful when served alongside fresh fruits, such as bananas or strawberries, providing a refreshing contrast to the rich chocolate.
Nutritional Information
Each Mini Peanut Butter Cup has approximately 100 calories, making them a suitable treat when enjoyed in moderation. They offer a balance of protein from peanut butter and healthy fats, providing a quick energy boost. It’s essential to remember that while indulgent, moderation is key to maintaining a balanced diet.
Storing Tips & Variations
To store your Mini Peanut Butter Cups, place them in an airtight container in a cool, dry place. If you need them to last longer, refrigerating them is a great option. You can also freeze the cupcakes for future enjoyment; just ensure they are sealed properly to prevent freezer burn.
For variations, consider adding different flavors to the peanut butter mixture, like a pinch of cinnamon or a scoop of protein powder for an extra boost. You can also try using almond or sunflower butter for a nut-free version.
Conclusion
Mini Peanut Butter Cups are not only simple to make but are also a delightful way to indulge your sweet tooth. Their creamy, nutty filling combined with the smooth chocolate exterior makes for a treat that’s hard to resist. Whether you’re making them for yourself or sharing them with friends and family, these little bites of joy are sure to impress. Give this recipe a try and be sure to share your experience!
FAQs
-
Can I use natural peanut butter?
Yes, natural peanut butter works great! Just ensure it’s well-stirred for a smooth consistency. -
How long do these treats last?
At room temperature, they will last for up to a week. In the fridge, they can last up to two months. -
Can I use any type of chocolate?
Absolutely! You can choose dark, milk, or white chocolate based on your preference. -
What if I’m allergic to peanuts?
You can substitute peanut butter with almond butter or sunflower seed butter for a similar texture. -
How can I make these vegan?
Use maple syrup instead of honey and select dairy-free chocolate chips to make them vegan-friendly.
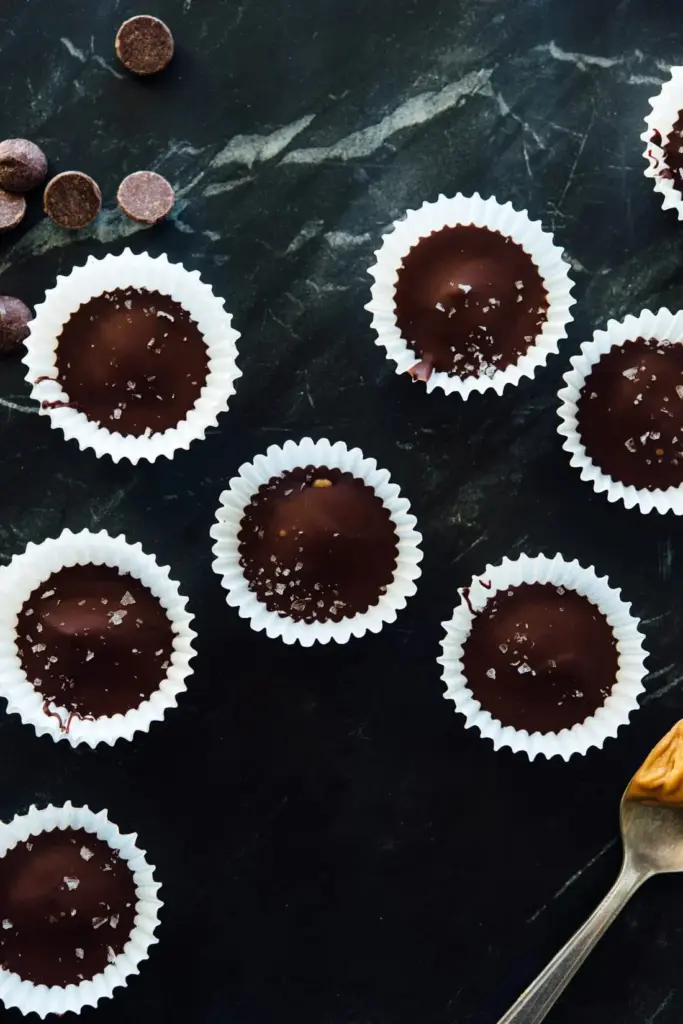
Mini Peanut Butter Cups
Ingredients
Method
- In a small bowl, combine the peanut butter and maple syrup (or honey) and stir until smooth and well-blended.
- Fill a mini cupcake pan with liners, or arrange mini cupcake liners on a plate.
- Melt the chocolate in a microwave-safe bowl in 30-second intervals, stirring in between until completely melted. Alternatively, use a double boiler.
- Spoon about 1 teaspoon of the melted chocolate into the bottom of each cupcake liner.
- Add about ½ teaspoon of the peanut butter mixture in the center of the chocolate.
- Top with another teaspoon of melted chocolate to cover the peanut butter completely.
- Place the tray in the freezer for 5 minutes, then optionally sprinkle flaky sea salt on top.
- Freeze until firm, about 25 additional minutes.
- Once firm, enjoy or store in an airtight container. They can be kept at room temperature for up to a week or refrigerated for two months.

Leave a Reply