
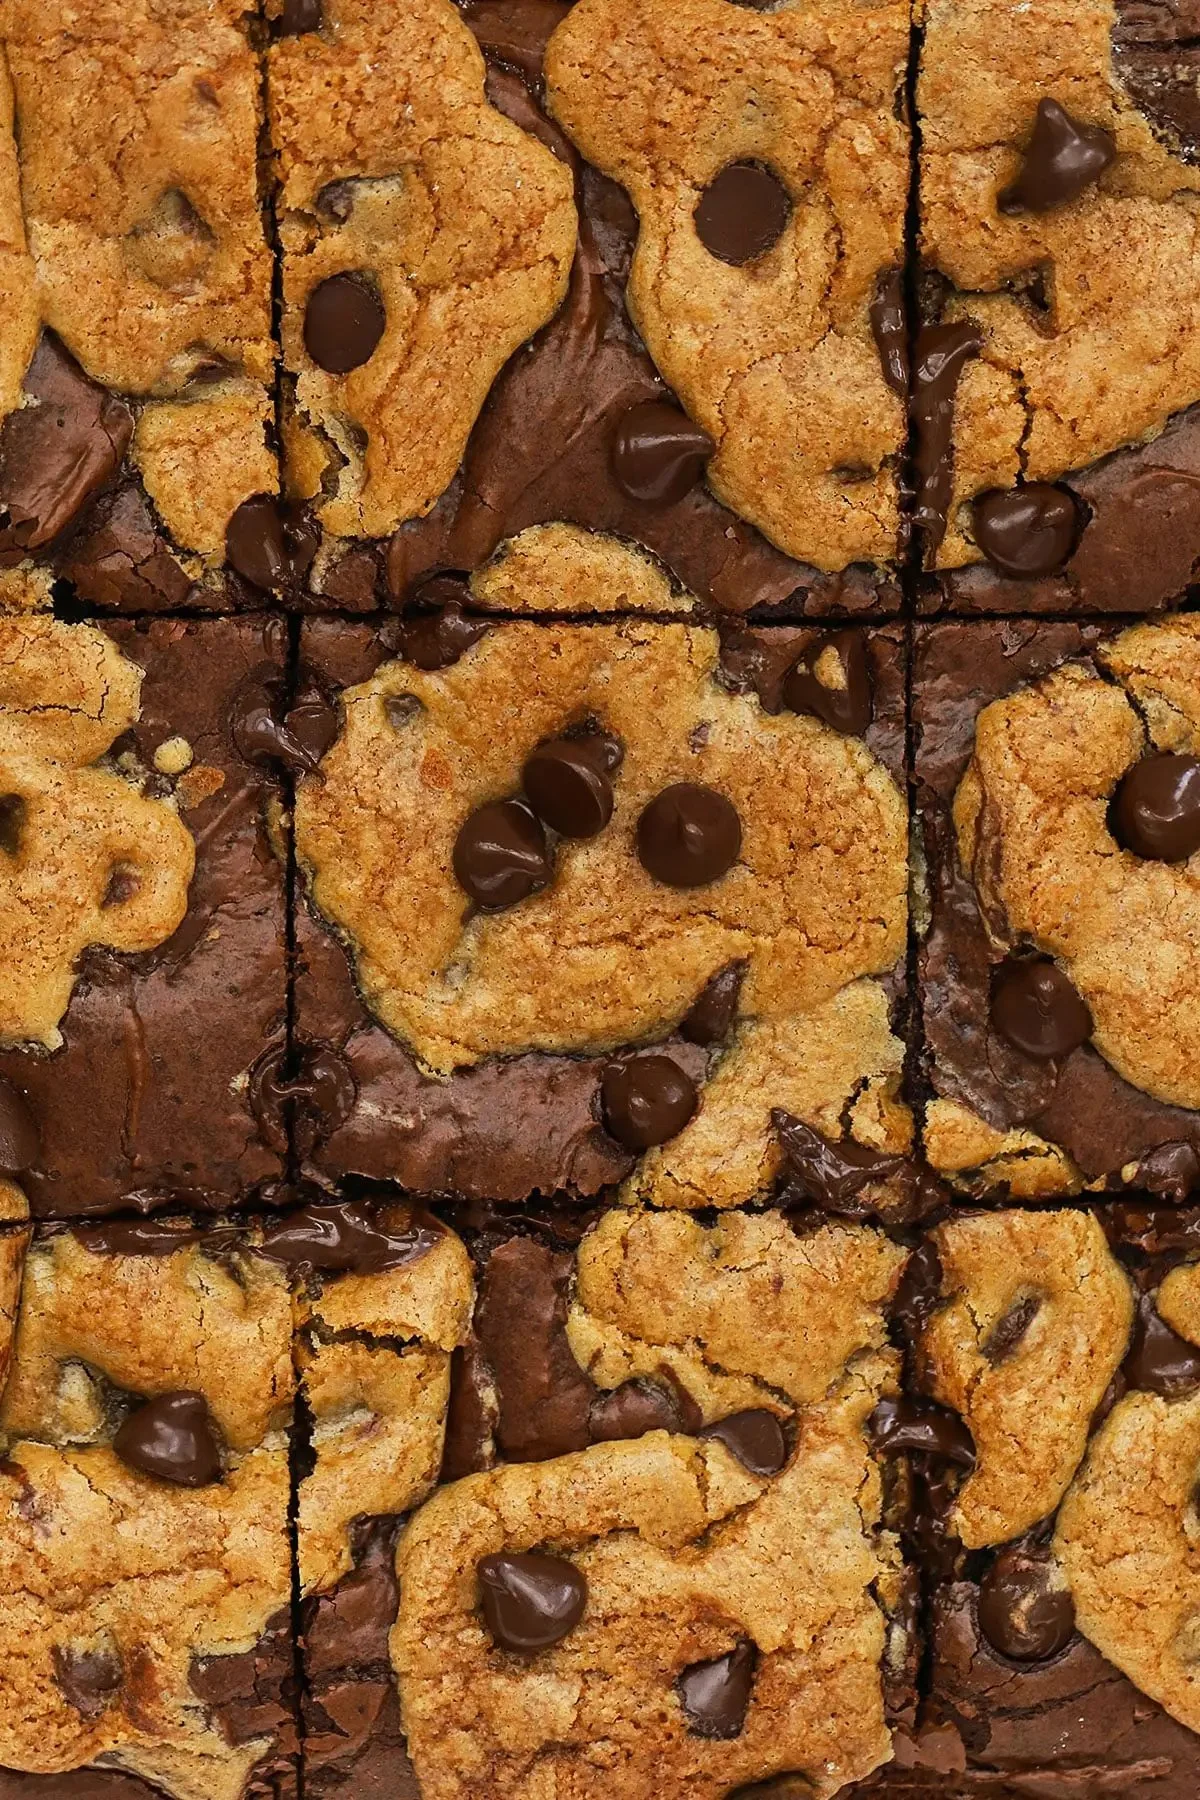
Gluten-Free Brookies combine the rich flavor of brownies with the delightful texture of cookies, creating a treat that is irresistible and perfect for any occasion. The first bite reveals a gooey brownie layer topped with soft and chewy cookie dough, a true dessert lover’s dream. This recipe is not only delicious but also easy to follow, making it a perfect choice for busy families or anyone looking to satisfy their sweet tooth without the gluten. Get ready to whip up this comforting dessert with our step-by-step guide!
Ingredients
To create these heavenly Gluten-Free Brookies, you will need:
- 6 Tablespoons butter, softened (85 grams), which lends a creamy richness.
- 1/2 cup packed light brown sugar (100 grams) to add a delightful caramel flavor.
- 2 Tablespoons granulated sugar (25 grams) for that perfect sweetness.
- 1 large egg, room temperature, providing a cohesive bind.
- 1 teaspoon vanilla extract, offering a warm aroma.
- 3/4 cup + 2 Tablespoons gluten-free measure-for-measure flour (105 grams) to maintain that fluffy texture.
- 1/2 teaspoon baking soda, which helps the brookies rise.
- 1/2 teaspoon kosher salt to enhance the flavors.
- 1/2 cup semisweet or dark chocolate chips (85 grams) for a rich, chocolatey burst.
For the brownie layer:
- 4 Tablespoons butter (57 grams) for a fudgy consistency.
- 1/3 cup semisweet or dark chocolate chips (57 grams) for extra indulgence.
- 1/4 cup + 2 Tablespoons granulated sugar (75 grams), making the brownies sweet and rich.
- 1 large egg to bind everything together.
- 1 teaspoon vanilla extract for added depth of flavor.
- 1/4 cup gluten-free measure-for-measure flour (30 grams) for structure.
- 1/4 cup unsweetened cocoa powder (natural, NOT Dutch processed) (28 grams) for a deep chocolate flavor.
- 1/4 teaspoon kosher salt to balance the sweetness.
- 2 Tablespoons chocolate chips for topping, adding extra flair.
- Flaky sea salt, if desired (optional), to sprinkle on top for a gourmet touch.
Step-by-Step Directions
-
Preheat Your Oven: Start by preheating your oven to 350 degrees F. Line a metal 8×8 baking pan with parchment paper and set it aside. This will help ensure easy removal of your brookies.
-
Cream the Butters and Sugars: In a large mixing bowl or the bowl of a stand mixer, cream together the softened butter, brown sugar, and granulated sugar for 2-3 minutes until the mixture is light, fluffy, and creamy. Don’t forget to scrape down the sides of the bowl for even mixing!
-
Incorporate Wet Ingredients: Add the large egg and vanilla extract, mixing until fully incorporated. It’s essential to ensure these ingredients are well combined for the best texture.
-
Add Dry Ingredients: Scrape down the sides again, then add the gluten-free flour, baking soda, and salt. Mix the ingredients until almost fully blended, leaving a few floury patches. You’ll notice the cookie dough will be softer than standard dough, but resist the urge to add more flour!
-
Divide the Dough: Estimate to divide the cookie dough so you have about 2/3 of it set aside for the bottom layer and the remaining 1/3 for the top layer.
-
Melt Butter and Chocolate: In a small saucepan over low heat (or in a microwave-safe bowl), gently melt the butter and chocolate together until they are completely smooth and glossy.
-
Mix Brownie Ingredients: In a medium mixing bowl, combine the granulated sugar, egg, and vanilla extract. Mix vigorously for 2-3 minutes until the mixture is lighter in texture and color, ensuring the sugar is well dissolved.
-
Combine Cocoa and Flour: Add the gluten-free flour, cocoa powder, and salt to the sugar mixture, stirring until just blended and no dry patches remain.
-
Assemble the Layers: Use 2/3 of the cookie dough and evenly pat it into the bottom of the prepared baking dish. Pour the brownie batter over this cookie dough layer and smooth it out.
-
Top with Cookie Dough: Divide the remaining 1/3 of the cookie dough into small tablespoon-sized sections. Flatten them into discs and press them into the brownie batter, leaving little gaps.
-
Bake in the Oven: Bake uncovered for 20 minutes until the tops of the cookie discs are slightly golden brown. To prevent burning, loosely cover the pan with foil and bake for an additional 4-6 minutes, checking for desired doneness.
-
Cool and Serve: Let the bars cool in the pan on a wire rack until completely cooled. Once cool, cut them into bars and enjoy! They can be stored in an airtight container for 2-3 days or frozen for up to 2 months.
Tips & Tricks
- Butter Temperature: Ensure your butter is at room temperature; this helps with proper creaming, resulting in a better texture.
- Do Not Rush Sugar Dissolution: Take your time mixing the sugar into the brownie batter; this is crucial for that glossy finish on top.
- Feel Free to Customize: Add nuts, caramel swirls, or even different types of chocolate chips to personalize your brookies.
Serving Suggestions & Pairings
These Gluten-Free Brookies are delightful on their own but can be enhanced with a scoop of vanilla ice cream or a dollop of whipped cream. Serve them at birthday parties, family gatherings, or as a sweet afternoon pick-me-up alongside a cup of coffee or tea. They are perfect for any occasion!
Nutritional Information
On average, each Brookie bar contains around 180 calories, with approximately 9 grams of fat, 23 grams of carbohydrates, and 2 grams of protein. While it’s essential to enjoy treats in moderation, these brookies can provide a sweet escape when balanced within a nutritious diet.
Storing Tips & Variations
Store your gluten-free brookies in an airtight container at room temperature for up to 3 days, or freeze them for up to 2 months. When ready to enjoy from the freezer, just leave them out for a few minutes, or gently reheat them in the microwave for a few seconds. For variations, consider trying different flavors of extracts or adding dried fruits to the cookie layer for a unique twist.
Conclusion
Gluten-Free Brookies are a pure delight that marries the best of brownies and cookies in one delicious dessert. Easy to make and impossible to resist, these treats are sure to become a family favorite. We encourage you to try this recipe out, share your experiences, and let us know how they turned out!
FAQs
-
Can I use regular flour instead of gluten-free flour?
No, this recipe is specifically designed for gluten-free flour to achieve the right texture and flavor. -
How do I know when my brookies are done?
The tops of the cookie discs should be golden brown. You can also test with a toothpick; it should come out with a few moist crumbs. -
Can I add nuts to this recipe?
Absolutely! Feel free to fold in your favorite nuts along with the chocolate chips for added crunch. -
What chocolate chips work best?
Semisweet or dark chocolate chips work great, but you can use milk chocolate if you prefer a sweeter treat. -
Can I make these ahead of time?
Yes, you can make the brookies a day in advance. Once cooled and cut, simply store them in an airtight container.
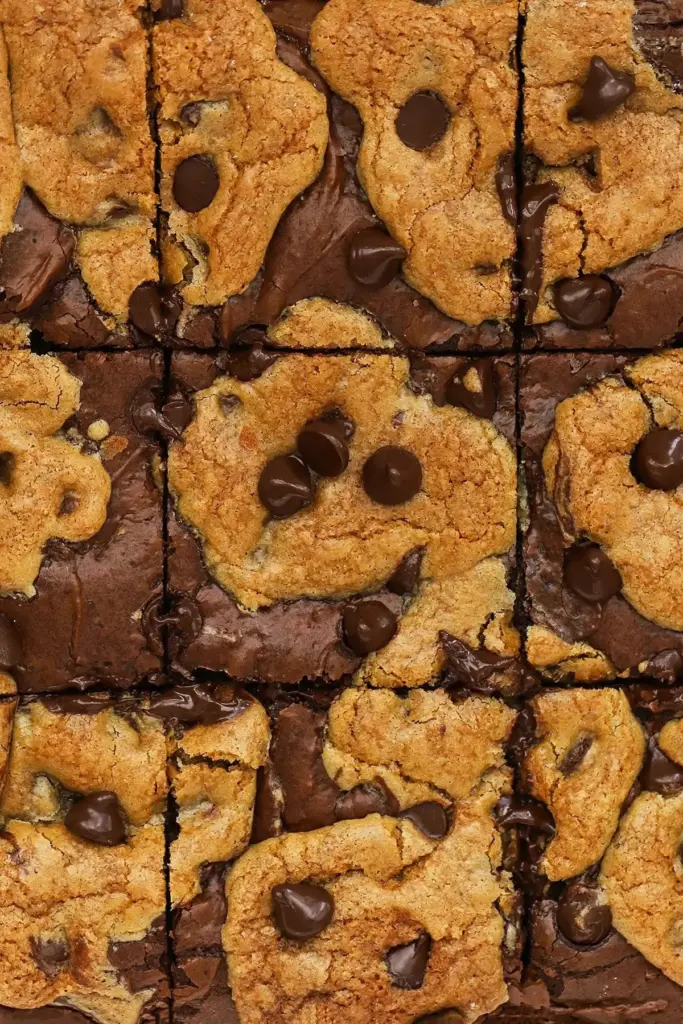
Gluten-Free Brookies
Ingredients
Method
- Preheat your oven to 350 degrees F. Line a metal 8×8 baking pan with parchment paper and set it aside.
- In a large mixing bowl, cream together the softened butter, brown sugar, and granulated sugar for 2-3 minutes until light and fluffy.
- Add the egg and vanilla extract, mixing until fully incorporated.
- Add the gluten-free flour, baking soda, and salt, mixing until almost fully blended.
- Estimate to divide the cookie dough so you have about 2/3 set aside for the bottom layer and the remaining 1/3 for the top layer.
- In a small saucepan, gently melt the butter and chocolate for the brownie layer until smooth.
- In a medium mixing bowl, combine the granulated sugar, egg, and vanilla extract for the brownie layer, mixing vigorously until lighter in texture.
- Add the gluten-free flour, cocoa powder, and salt to the sugar mixture, stirring until just blended.
- Pat 2/3 of the cookie dough into the prepared baking dish.
- Pour the brownie batter over the cookie dough layer and smooth it out.
- Divide the remaining cookie dough into small discs and press them into the brownie batter.
- Bake uncovered for 20 minutes, then loosely cover with foil and bake for an additional 4-6 minutes.
- Let cool in the pan on a wire rack until completely cooled, then cut into bars.

Leave a Reply